


FAQs
Nature Refined, Quality Defined
Green Science for better living

Gel Strength Determination — High Acyl Gellan Gum
To determine the gel strength of high acyl gellan gum (HAGG) under standardized calcium-set conditions, for raw material release, batch-to-batch comparison, and quality control.
Applies to all high acyl gellan gum products manufactured by Hangzhou Gellan Solutions Biotec Co., Ltd. This method is not applicable to low acyl or mid acyl gellan gum grades, which require different cation activation protocols and have different characteristic gel strength ranges.
HAGG hydrates upon heating above approximately 80°C. Upon cooling in the presence of divalent cations (Ca2+), the polymer undergoes a coil-to-double-helix transition followed by helix aggregation, forming a thermoreversible, elastic, non-brittle gel. In this test, gel strength is measured as the peak compressive force required to penetrate a fully cured gel to a fixed depth using a texture analyzer, and serves as an index of network crosslinking density and functional performance.
● Analytical balance (accuracy 0.001 g)
● Thermostatic water bath (10–100°C, ±1°C)
● Constant-temperature curing chamber/incubator (5–50°C control range), used for gel setting and curing
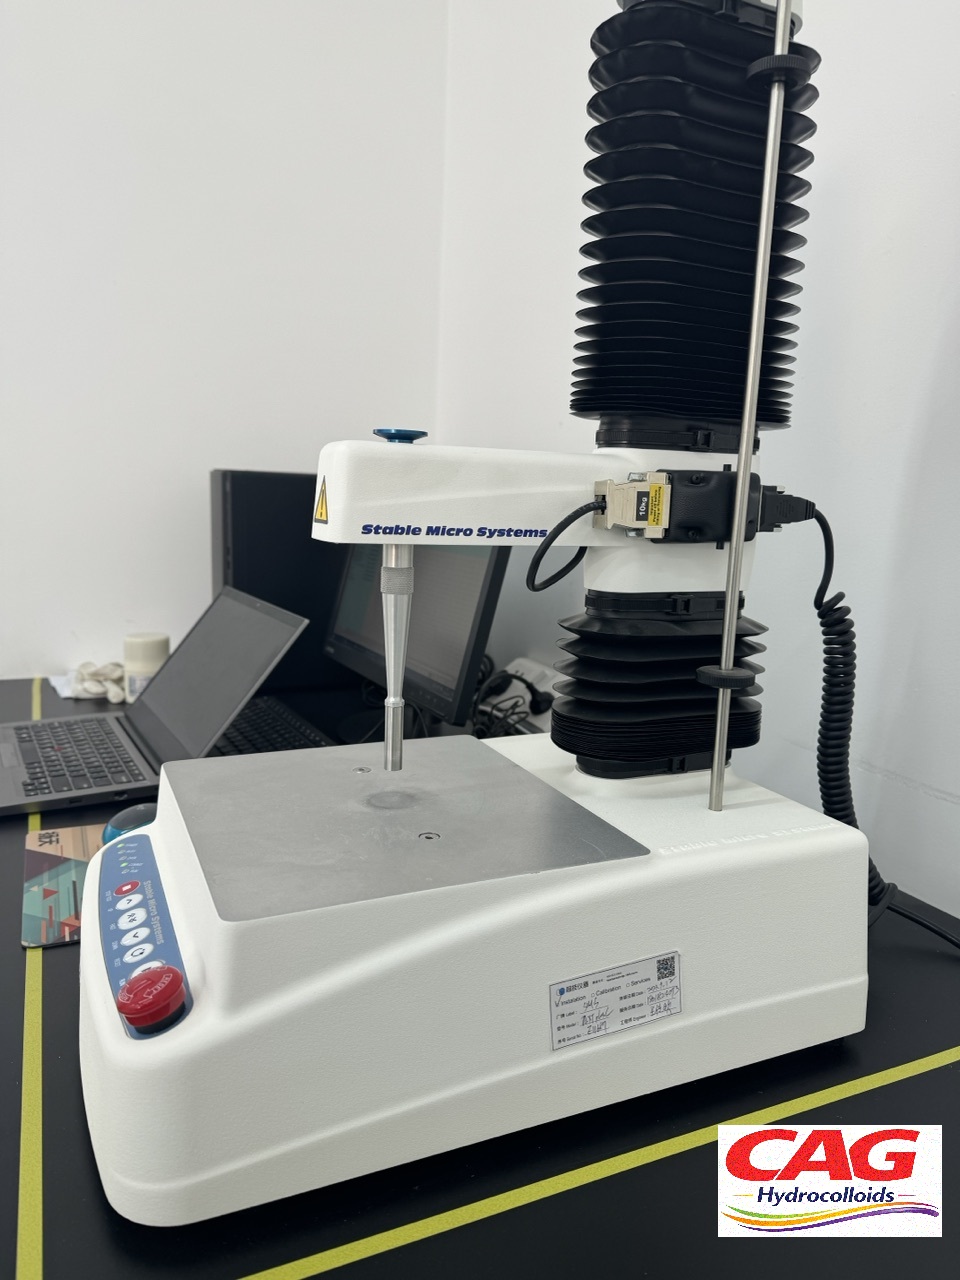
● Texture analyzer, TA-XT2 (or equivalent), fitted with a P/0.5 cylindrical probe, 12.7 mm diameter (cross-sectional area = 1.267 cm²). This probe and area are fixed for this method — do not substitute a different probe diameter without re-deriving the area used in Section 8 and re-validating against the historical reference range.
● Electric overhead stirrer
● 500 mL beakers
● Gel molds/cups of fixed internal diameter and fill height [dimensions to be confirmed against the validated mold — e.g. 50 mm ID × 45 mm height]. Gel strength is mold-diameter- and fill-height-dependent, so mold geometry must be identical to that used when the historical reference range was established.
● High acyl gellan gum (test sample)
● Calcium chloride (CaCl2, anhydrous, reagent/food grade) — prepared as a 0.3 mol/L stock solution
● Distilled water
1. Weigh 3.00 ± 0.01 g of HAGG sample into a 500 mL beaker.
2. Add 2.0 mL of 0.3 mol/L calcium chloride stock solution and mix. This gives a final calcium concentration of approximately 2 mmol/L in the finished 300 g gel. Gel strength is highly sensitive to calcium level — this addition must not be varied between batches for comparative purposes.
3. Add 290 mL of distilled water to the beaker.
4. Mix with an overhead electric stirrer [speed to be fixed, e.g. 300–400 rpm — confirm against internal reference method] for 10 minutes to fully disperse the gum prior to heating. Adequate pre-dispersion at this stage is the single most effective way to prevent lump formation, which is the most common cause of low or erratic gel strength results.
5. Place the beaker in a water bath at 94–95°C and heat for 30 minutes with intermittent stirring, until the HAGG is fully hydrated and the solution is visually clear and homogeneous. Haze or undissolved particles indicate incomplete hydration and invalidate the test — do not proceed to casting until the solution is clear.
6. Reweigh the hot solution and replenish any evaporative water loss with 95°C distilled water to restore the total weight to exactly 300 g.
7. While the solution is still hot (≥90°C), pour it into pre-warmed gel mold(s), filling each to the same fixed height. Record the fill height/volume used.
8. Allow the gel to set undisturbed at room temperature (20–25°C) for at least 1 hour to achieve initial set, then transfer to a constant-temperature chamber at 20 ± 2°C for 16–24 hours to complete curing before testing. Gels tested before full curing give falsely low and highly variable strength readings; curing time must be standardized and not shortened for convenience.
9. Prepare 3 parallel samples per batch.
1. If cured gels were stored in a chamber at a different temperature than the test room, equilibrate to room temperature immediately before testing.
2. Mount the sample securely on the texture analyzer platform, ensuring the gel surface is level and undisturbed.
3. Set instrument parameters. The values below are typical starting points; the company's validated/calibrated parameters, established against the historical reference standard, take precedence and should be entered here once confirmed:
|
Parameter |
Value |
|
Probe |
P/0.5, 12.7 mm cylindrical probe (area = 1.267 cm², fixed) |
|
Pre-test speed |
1.0 mm/s |
|
Test speed |
1.0 mm/s |
|
Post-test speed |
10.0 mm/s |
|
Trigger force |
5 g |
|
Penetration distance |
4 mm (confirm against internal reference method) |
|
Test mode |
Compression, single cycle |
4. Record the peak (maximum) compression force during penetration as the gel strength reading for that replicate.
5. Test 3 parallel gels per batch. Calculate the mean, standard deviation, and relative standard deviation (RSD = SD ÷ Mean × 100%) of the 3 peak force values. If RSD ≤ 10%, report the mean and SD directly. If RSD > 10%, do not discard the single most deviant replicate and substitute a new one — with only 3 data points, this practice can bias the reported result. Instead, treat the entire set of 3 as invalid, investigate against the common causes in Section 9 (incomplete hydration, mold inconsistency, premature testing before full cure), and repeat all 3 replicates from fresh sample preparation.
Gel strength is reported directly as the peak force (g or N) recorded by the texture analyzer under the fixed P/0.5 probe (12.7 mm diameter) and mold geometry specified in Section 4. Where the client's specification requires the result normalized to a 1 cm² cross-section:
Gel Strength (g/cm²) = Peak Force (g) ÷ 1.267 cm² (P/0.5 probe cross-sectional area)
This normalization assumes a homogeneous, isotropic gel with a probe diameter small relative to the sample/mold, per Section 4. It is mathematically equivalent to “normalizing to 1 cm²” but is not a substitute for using a probe with an actual 1 cm² cross-section (diameter ≈ 11.28 mm) if the client's method requires the latter specifically — confirm with the client which convention their historical data was generated under before comparing results directly.
Each report should include: sample ID, batch number, individual replicate values, mean, standard deviation, RSD, and pass/fail status against the internal specification range.
● Calcium level is fixed at ~2 mmol/L in the finished gel. Do not vary the calcium addition between batches being compared, as gel strength is sensitive to this parameter.
● Incomplete hydration (Step 6.5) is the most common cause of falsely low or erratic results. Visual clarity of the hot solution before casting is a mandatory checkpoint.
● Gel strength is dependent on curing time and temperature; the curing conditions in Step 6.8 must be standardized across all comparative testing and not shortened for convenience.
● Mold geometry (diameter and fill height) directly affects the measured peak force. Do not compare results generated with different molds without first re-validating against a common reference standard.
● Probe diameter and penetration depth must remain fixed. Any change to texture analyzer settings invalidates comparison with historical data until a new reference range is re-established.


Email: info@cagcolloids.com
Tel: 0086-19884908291 / 0086-573- 80890620
Website: www.cagcolloids.com
Address: No. 399, East Tongfu Road, Tongxiang City, Zhejiang Province. China.